
|
|---|
|
|---|
|
CallSafe
Locking and Unlocking Calls
To lock a call or a selection of calls simply select them from the grid or timeline and then click the lock button: 
Once you have clicked the lock button you can then add a CallSafe tag, this enables you to group calls of the same incident together. For example, if you were collecting calls for one particular case you may enter a case or incident number. You will then be able to enter this number in the CallSafe Tag search criteria to find all calls that belong to the incident. 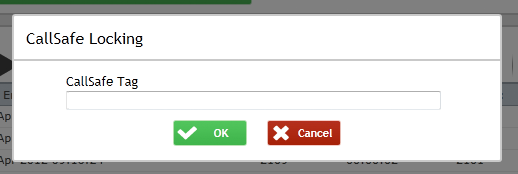
Once you have locked the call(s) of interest a padlock icon should appear in the "Flags" field of the grid or on the call on the Timeline. The padlock may not appear straight away as the recorder may be busy processing other requests, however, it will eventually appear. Note: If a user does not have the CallSafe permission the padlock icon will not be visible to them nor will the CallSafe tag field within the search results. 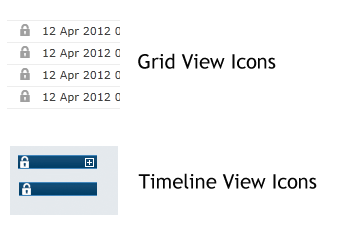
To unlock calls simply highlight them and click the unlock button: 
When you do this you will be warned that the calls will be removed from CallSafe permanently, if the calls only exist within CallSafe and you remove them there will be no copies left on the recorder. 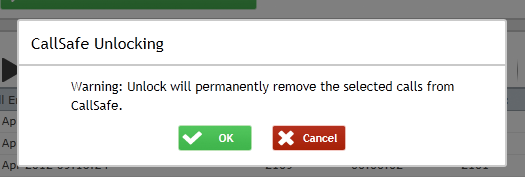
If you wish to unlock the calls click "OK" if not then click "Cancel". You now know the basics of using CallSafe. |
|---|
|
|---|